Seal Concrete like a Pro!
With The Following In-Depth, Informative How-To Guide For Sealing Concrete
Yes, concrete is one of the surliest, meanest and toughest products we can manufacture and mold into a final product.
However, concrete does require some Tender Loving Care (TLC) from time to time.
A little attention to your concrete with concrete sealer will keep your concrete loyal and long lasting for years to come.
To Seal Concrete Protects Your Concrete. Therefore, Extending The Useful Lifespan Of Your Concrete
Seal Concrete Like A Pro!
An In Depth Guide How To Seal Concrete.
Here is a List of Items You Will Need to Obtain in Order to Seal Your Concrete Properly:
- Concrete Sealer
- Flat head screw driver
- Throw away pint cup, plastic cup (something that will hold sealer you need to cut in with)
- 9-inch roller frame
- 9-inch roller cover (backup recommended)
- Chit brushes – Several
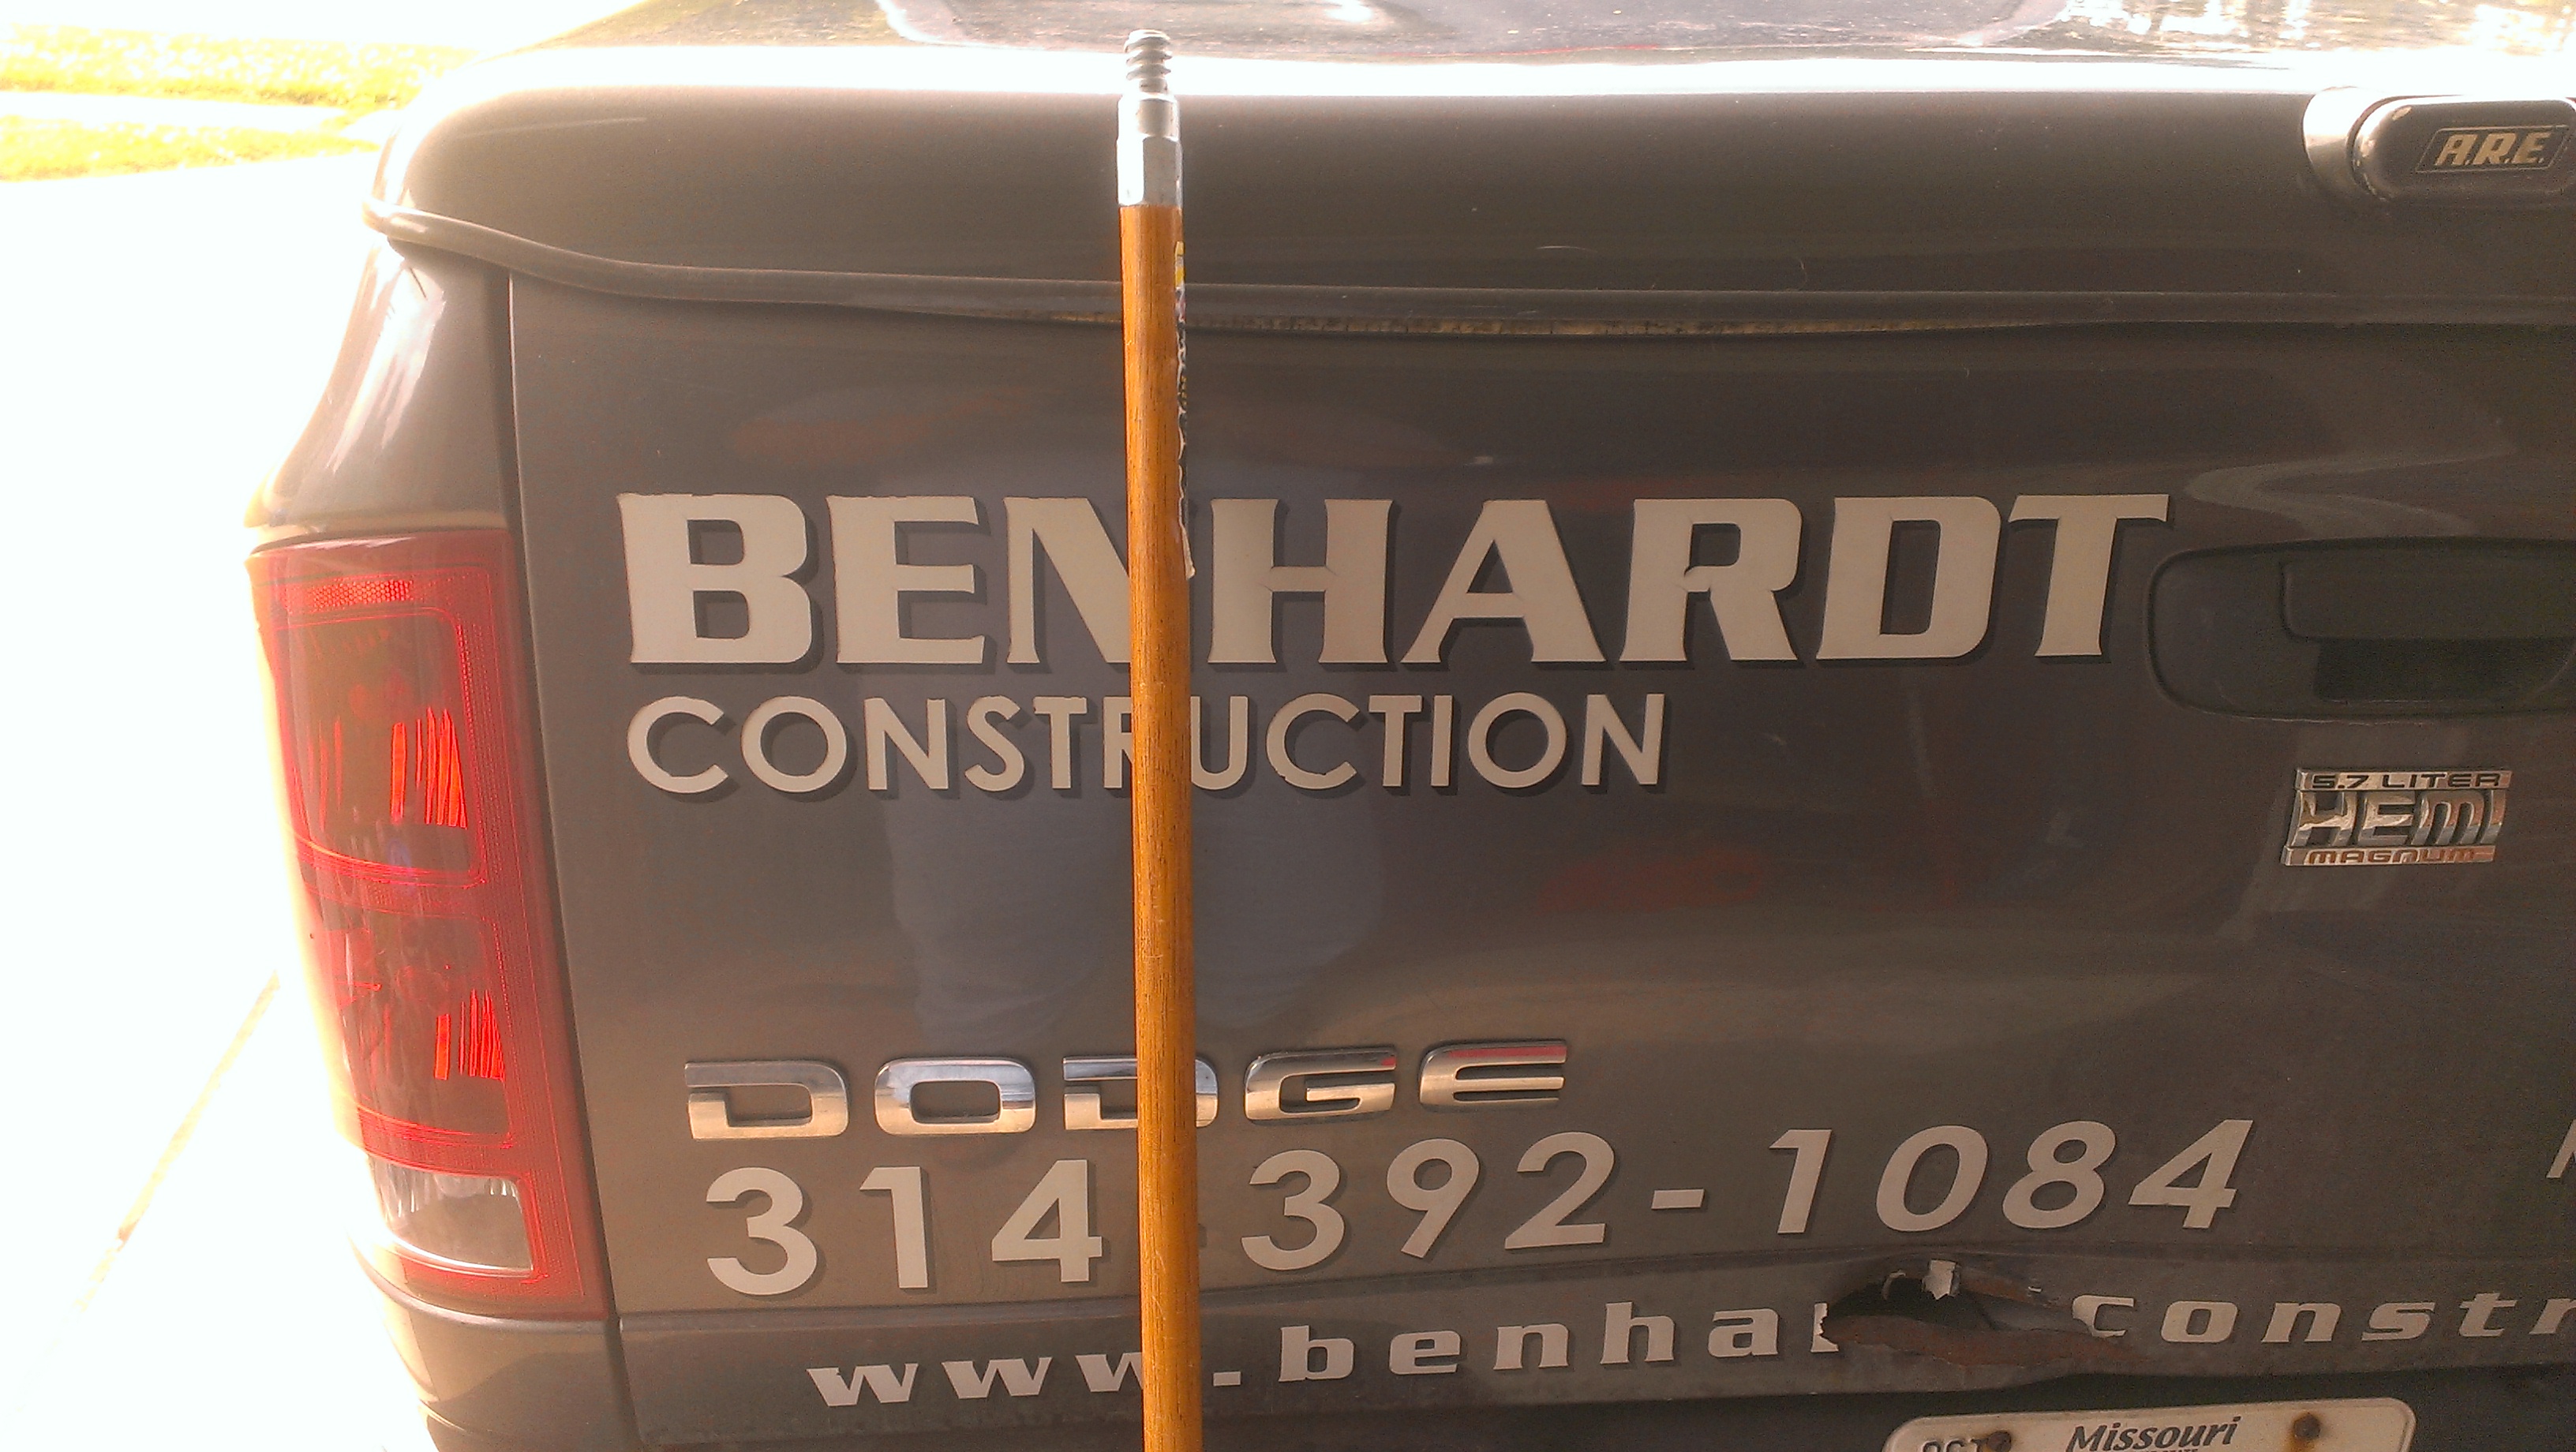
- Screw in extension pole for your roller frame
- Painters Tape
- Paper Towels
- Piece of Cardboard or Plastic
- Caution Tape
- Wooden Stakes
- Hammer
- Trash Bag
Benhardt Construction Prefers and Recommends purchasing concrete sealer at Carter Waters.
The rest of the items can be purchased from Handyman Hardware or your local hardware store.
Before concrete can be sealed it MUST be Clean and Dry.
If your concrete is not clean and dry you are simply throwing money, time and energy away while ending up with terrible results.
Assuming the surface is clean and dry and you are ready to start sealing. You have purchased all of your products and are ready to go. Double check the forecast (as well as look at the sky) as you want no rain for at least 12 hours. All clear? Great! Let’s go!
How-To Seal Concrete in Six Easy Steps
How To Seal Concrete Step 1 – Caution Tape Concrete
Caution Tape the Perimeter of the Concrete to Be Sealed
Hammer the wooden stakes into the ground around the perimeter. They do not have to be super close together but close enough so that the caution tape will not droop onto the sealed surface. The stakes just have to be solid enough to hold up the tape in a light breeze – you are not setting up a circus tent.
Once your stakes are set – tie off your tape to the first logical stake, unrolling it as you walk to the next one. Pull some tension on the tape and wrap it a few times around the stake. After you have wrapped it a few times, lighten up the tension on the roll. If the tape stays wrapped between your first two posts – great. If not wrap it better until it does.
Once you get the feel for the tension needed – tape it all off. When you are done taping, you are ready for step two.
How To Seal Concrete Step 2 – Open Concrete Sealer and Stir
Place the cardboard or plastic you brought in the center of the area to be sealed and set the concrete sealer on it.
Using the flat head screwdriver, insert it into the tabs below the outside of the lid and pry the tab outwards. Once all the tabs are sticking out you can gently remove the lid and set it on the cardboard. Take a CLEAN wooden stake or large paint stirrer and stir your concrete sealer for about 60 seconds. Nothing too fast or crazy.
Drag the stake or wooden stirrer from the inside of the container to the outside to clean off the excess sealer – then set it on the cardboard.
Grab your throw away cup and a paper towel. Dip the cup into the sealer to fill the cup up about half way with concrete sealer. Wipe off the outside with a paper towel. Grab two of the chit brushes.
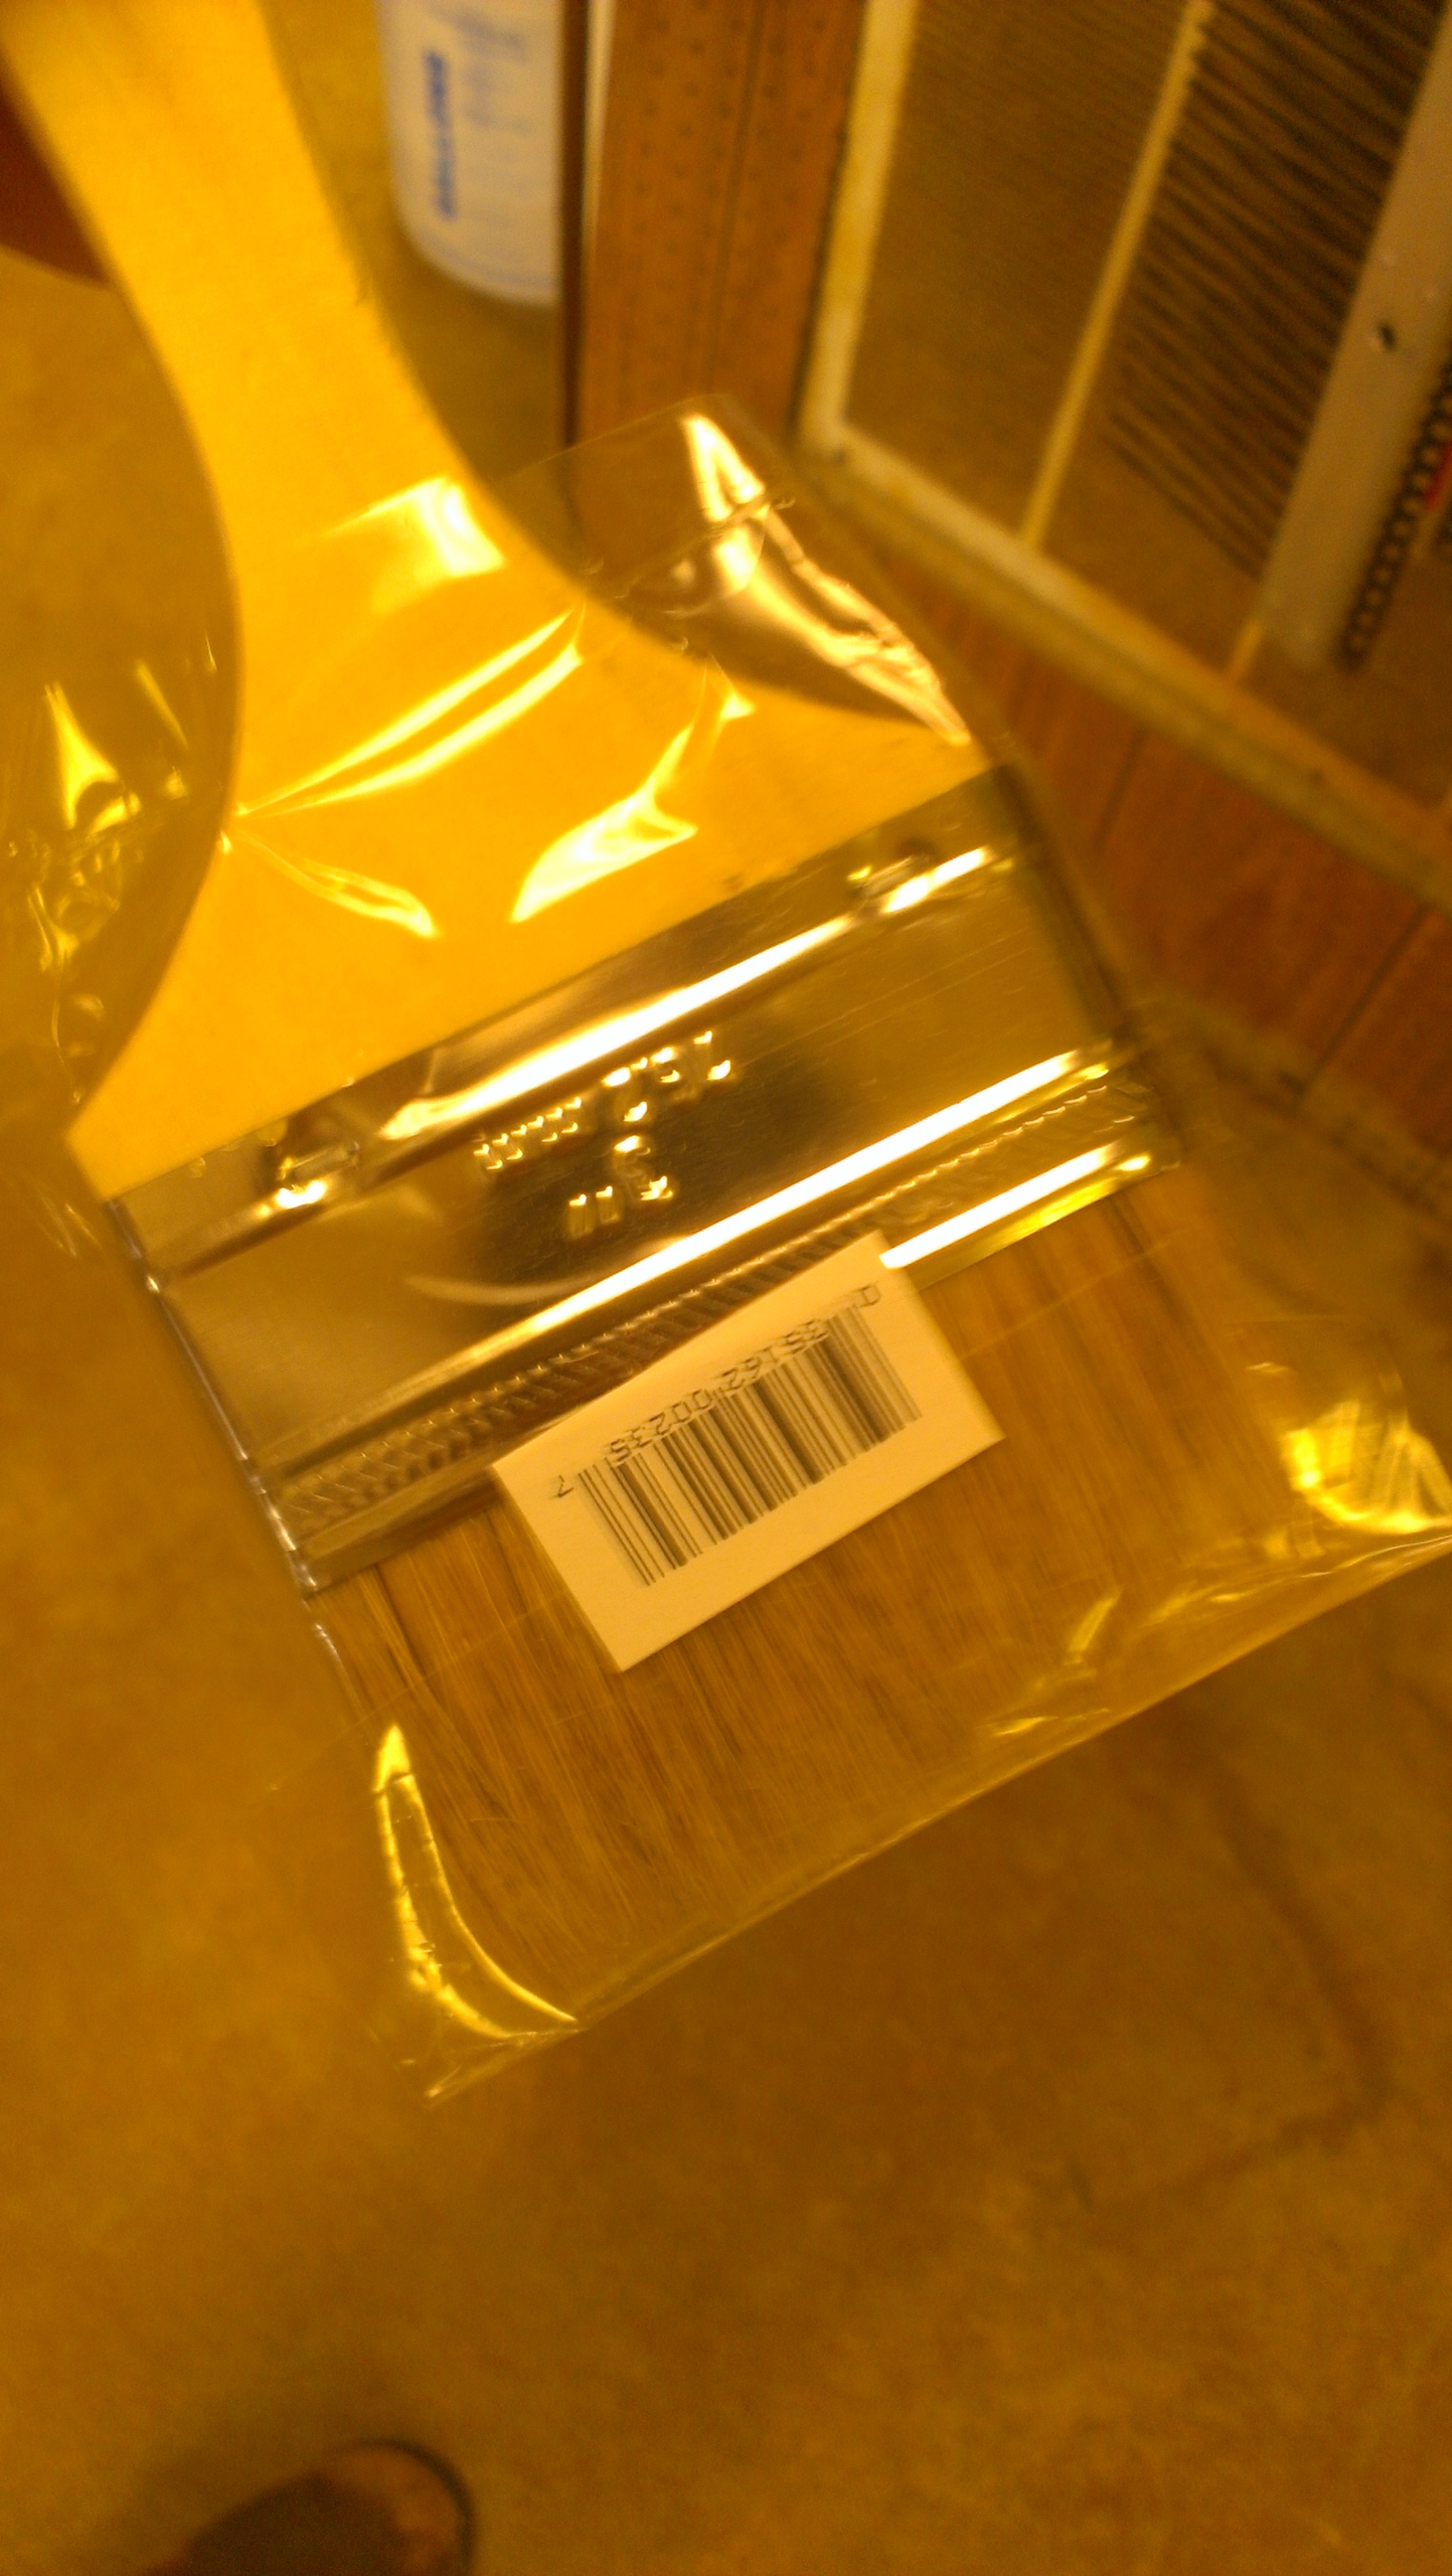
Chit Brush
Put one in your back pocket and keep the other ready for step three.
How To Seal Concrete Step 3 – Use Chit Brush to ‘Cut In’
Now you are going to cut in the concrete sealer to areas close to the home.
If you are not good at cutting in with a brush, take the time to painters tape off all areas you don’t want to have sealer on with painter’s tape. (This doesn’t mean that once you have the tape on you don’t have to be careful.) You still do. You will have to remove the tape the next day after the sealer dries
All areas next to the home, building, porch posts, etc. requires concrete sealer applied one width of the chit brush. This allows you to roll over with the roller in the next step while providing you enough space to stay clear of what you don’t want concrete sealer on.
Once you cut in to everything with your clean brush, you must then apply the concrete sealer to the sides of exposed concrete. Yes, that means the sides of the front porch, sidewalk or driveway that is sticking out of the ground. Does this mean we HAVE to get all the way to the dirt in new construction? No. Use your best judgment in this and apply the sealer to the point you think will be back filled then go just a smidge further.
Now that you have cut in and applied sealer to the sides of everything it is time to start applying your concrete sealer with the roller!
Place your spent brushes on an extra piece of cardboard outside the area to be sealed so you can remove them during clean up.
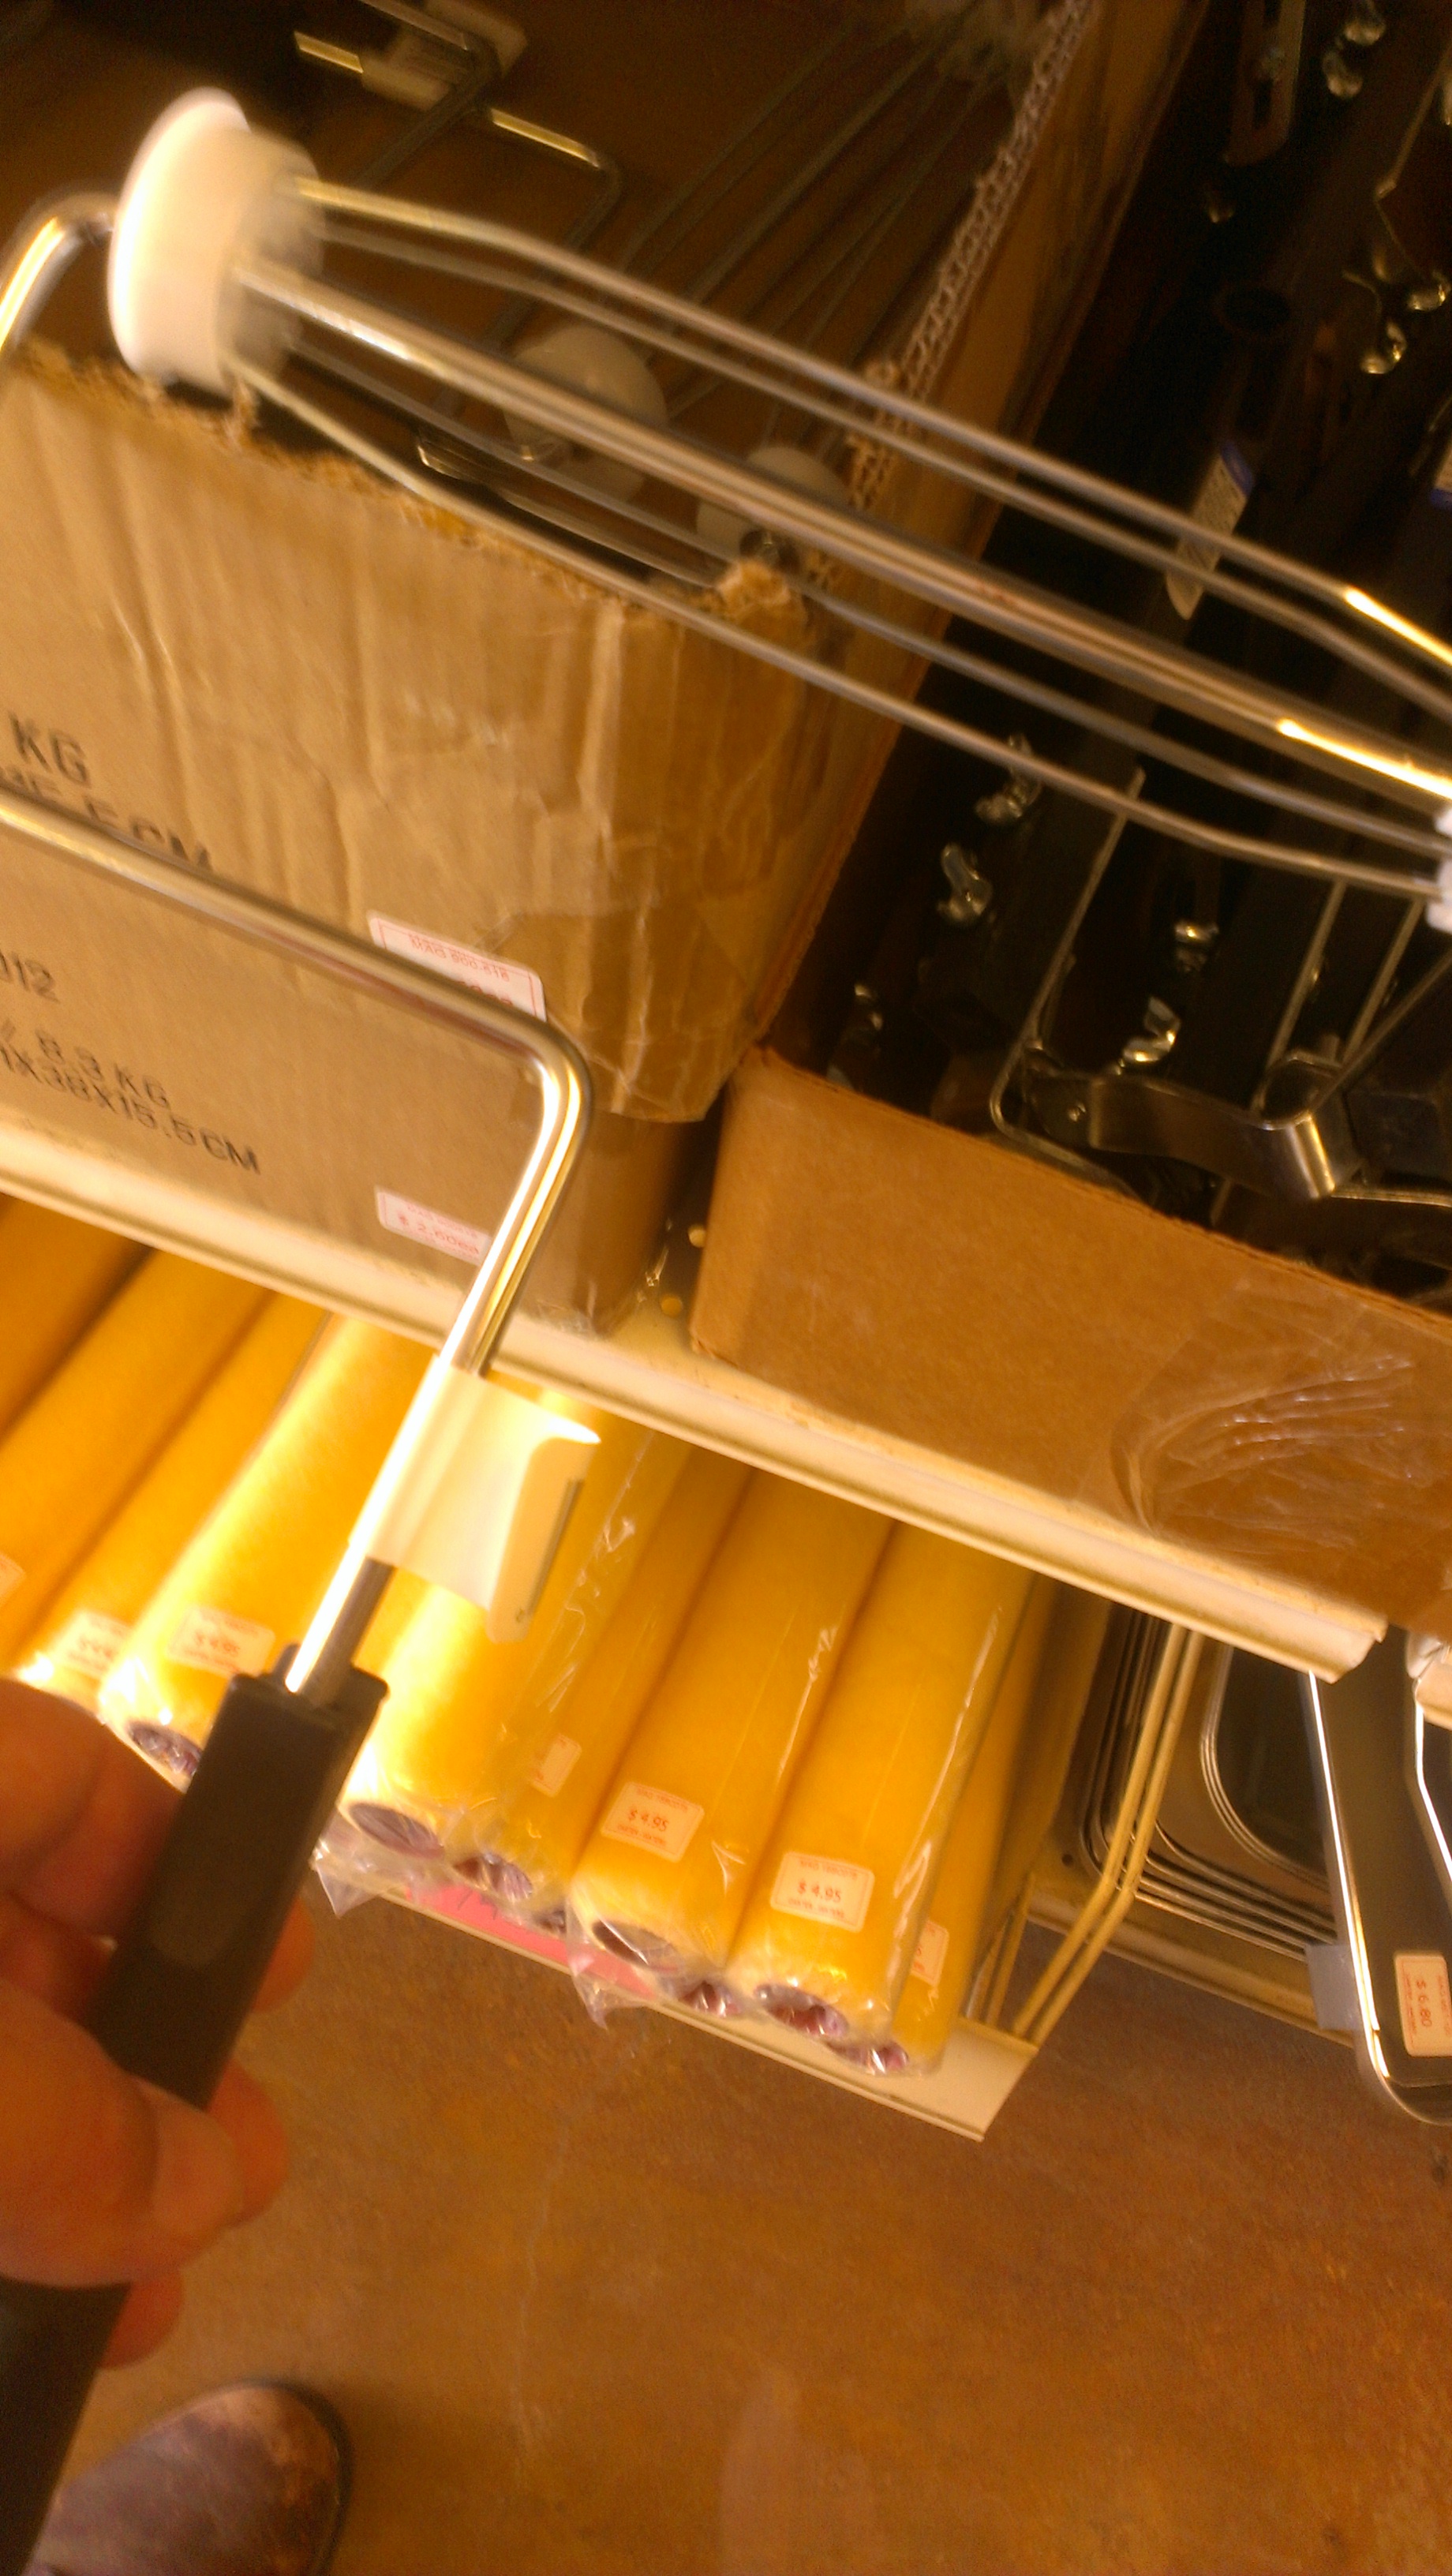
Low cost roller frame
How To Seal Concrete Step 4 – Smallest and Highest First!
You are going to assemble the roller frame and roller cover that you will use for your concrete sealing project.
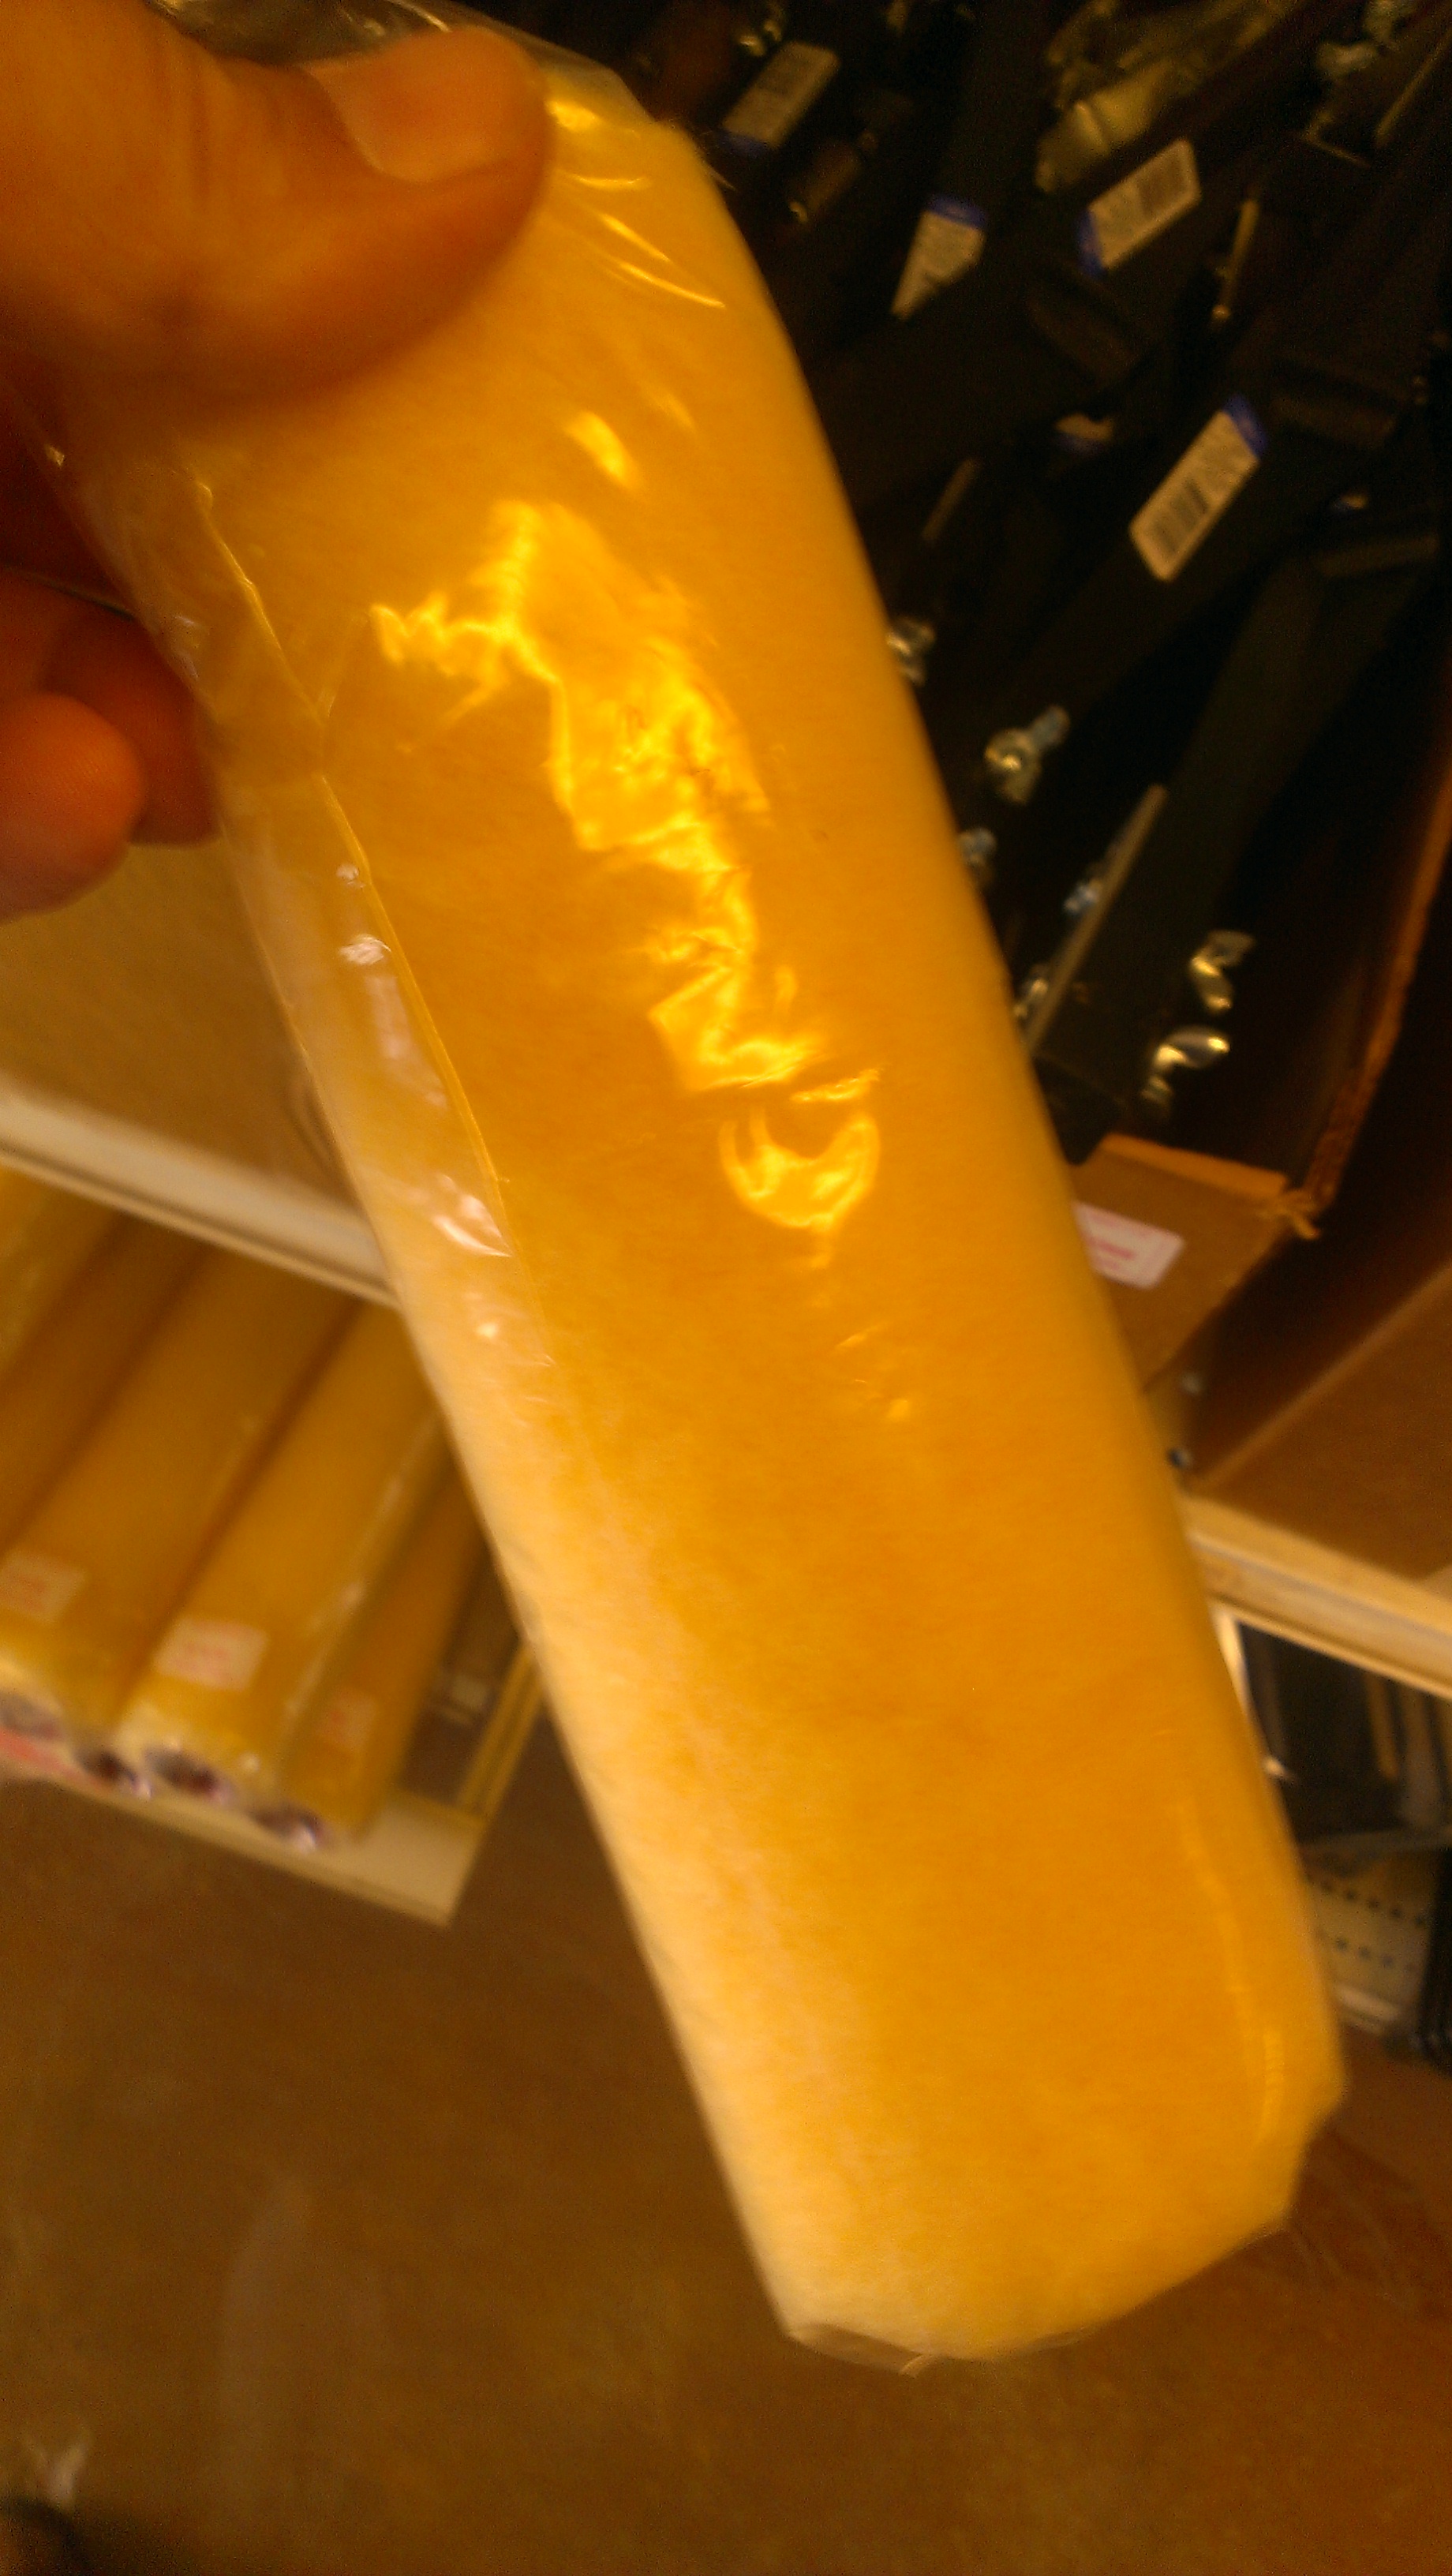
3/4 inch roller cover
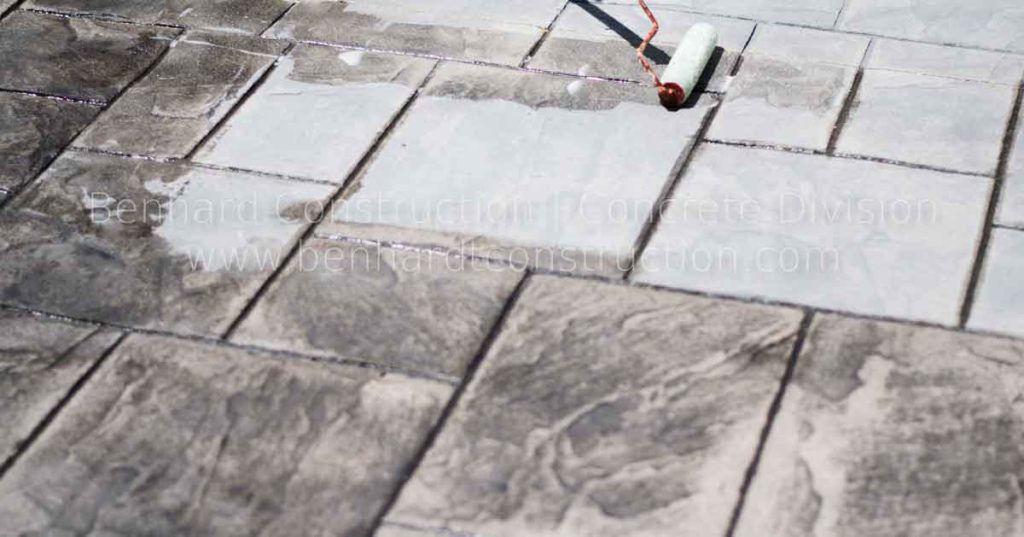
Pick up the sealer and take towards the front porch. Set down on the sidewalk close to the porch. You are going to dip the roller directly into the container to obtain your concrete sealer product.
When you bring the roller up, keep it over the container. Tap – GENTLY – the metal arm onto the side of the container to remove excess concrete sealer. When the dripping is lessened, you are going to swing the roller from around and start sealing the top surface of the porch.
When you set your roller cover down be sure to be in the center of the porch from front to back and about a roller cover and a half (15 inches from the edge). This is due to when you first set your roller down it will have the most product in it. If you do it right next to an edge or next to where you already sealed there will be TOO MUCH sealer in one area. In this manner once you start rolling you have control of how much product goes where.
You want to apply the sealer evenly and ALWAYS keep a wet edge. This ensures there will be no time for the sealer to dry and you end up having a visible line in your final product where dried concrete sealer was covered with fresh concrete sealer.
Once you completely seal the porch pick up your container of concrete sealer and walk away from the porch about 10 paces while staying on the sidewalk.
How To Seal Concrete Step 5 – Rollin’, Rollin’, Rollin’
Set the container down and retrieve you extension pole. Firmly attach the roller frame to the pole.
 You will now be using the roller in this setup for the rest of the job.
Dip your roller, tap off the excess and start rolling out the sidewalk in the same manner you did the porch.
Contractor Insight Tip – (With the extension pole attached, I like to keep a very light grip and not apply pressure to the roller. I control the direction of the roller and the speed but I allow the cover and product to ‘do its job’ and apply the sealer.)
Once you have a thin even layer, it is time to reload your roller cover with concrete sealer product.
Continue this along the length of the sidewalk making sure too much concrete sealer does not pool inside the control joint grooves. (You want to end up at a groove – not start over one)
When you complete the sidewalk, it is time for the driveway.
How To Seal Concrete Step 6 – Keep Going!
Your driveway – if poured correctly – should look appear to be multiple large squares.
You will start closest to the garage and work one square at a time. Keeping mind of what direction you are going along with making sure you do not land lock yourself. You know – paint yourself into a corner.
Contractor Insight Tip – (Apply concrete sealer on the driveway concrete up to the expansion joint between the driveway and garage floor. Be careful not to apply sealer at this time to the garage floor visible on the driveway side of the closed garage door.)
Continue sealing your driveway with even amounts of concrete sealer until square by square you are complete.
Contractor Insight Tip – (If you need to grab a drink or take a QUICK break, you can do so upon completion of an entire square of your driveway. Just NOT IN THE MIDDLE of one!)
Whatever you do, make it quick and get back to sealing.
Once you have completely sealed everything you can then relax and take a deep breath.
Viola! All Done!
Few Final Thoughts About Sealing Concrete
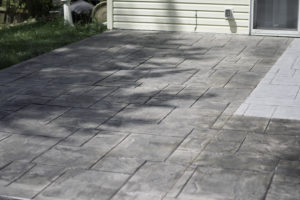
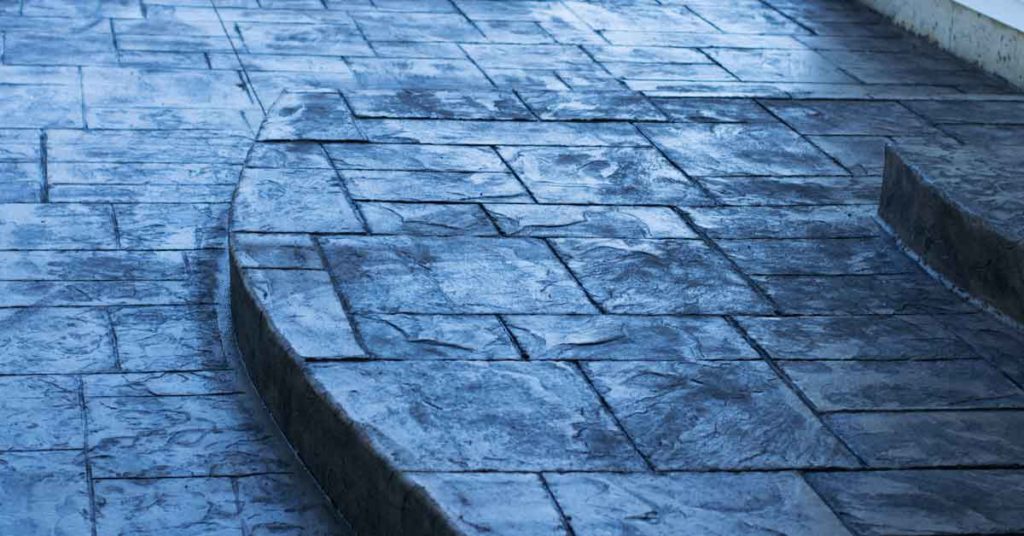
Stamped Concrete requires sealing to keep the release color ‘locked in’.
All Concrete benefits from sealing.
Concrete sealer is NOT one size fits all.
There are many variables to which makes for the right sealer for the task of concrete sealing.
Which is why one should adhere to the recommendation to patronize a Construction Supply like Carter Waters or similar
Prefer To Have Your Concrete Professionally Sealed?
Simply Fill Out The Form Below to Contact Benhardt Construction
Benhardt Construction Serves Clients Whom Desire New Patio, New Driveway, Detached Garage, Room Addition, Outbuilding/Structure, Decorative Concrete, Stamped Concrete, Concrete Sealed In the Following Parts of Missouri
St. Charles County, Missouri; Lincoln County, Missouri; Warren County, Missouri; Bridgeton, Missouri; St. Charles, Missouri; O Fallon, Missouri; Lake St. Louis, Missouri; St. Peters, Missouri; Cottleville, Missouri; Dardenne Prairie, Missouri; Wentzville, Missouri; New Melle, Missouri; Weldon Spring, Missouri; Foristell, Missouri; St. Paul, Missouri; Josephville, Missouri; & Beyond
Reach out today letting Benhardt Construction know more about your project!
Great post Bob, good tips!
Thanks for stopping by James! Appreciate your time and comments. Thank you!